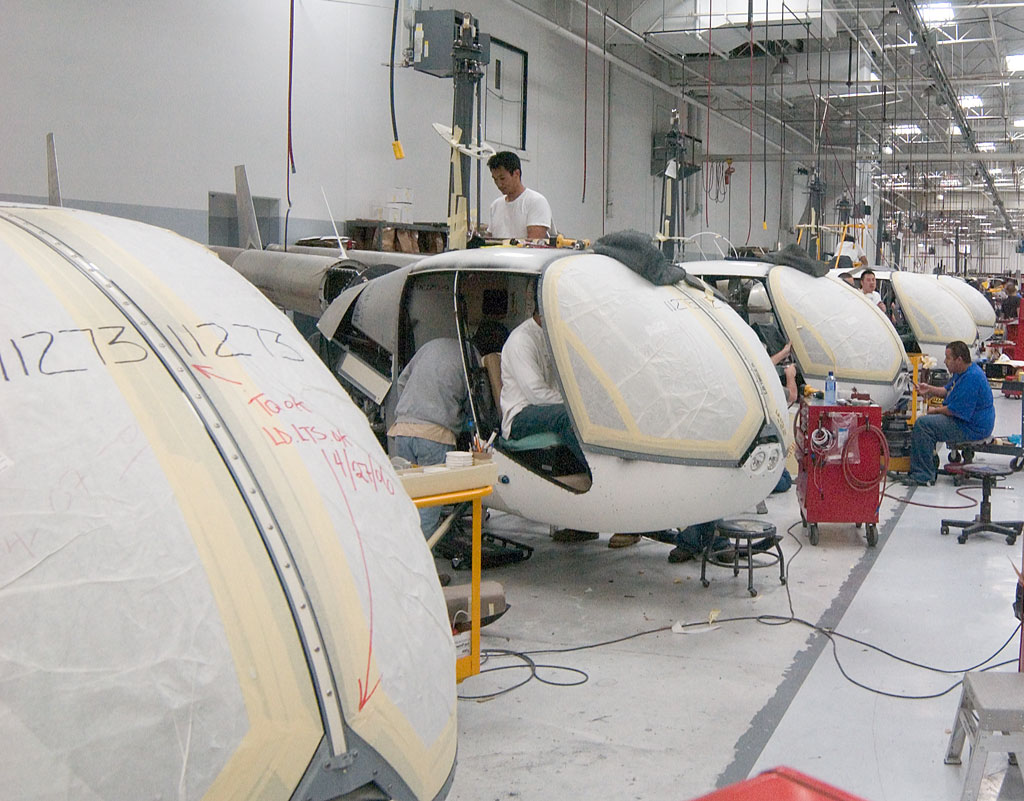
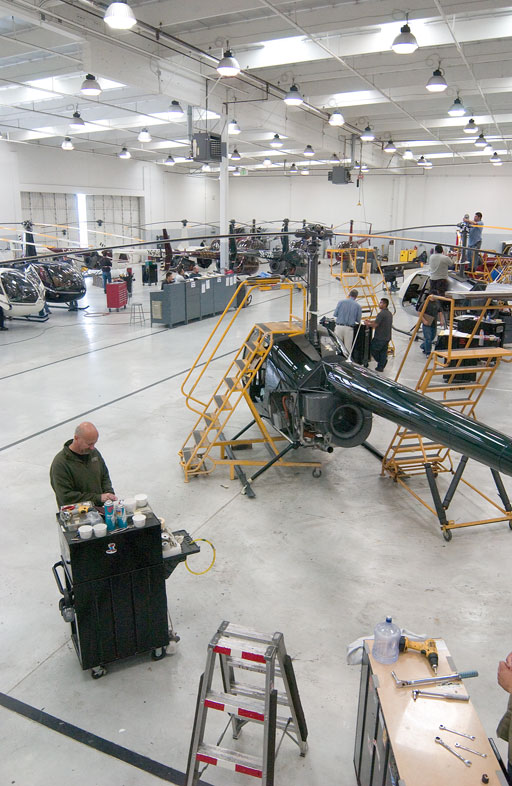
Large sections of the factory are used to assemble little parts into bigger subassemblies that really can't be identified as part of a helicopter. However, once we reach this part of the factory, you can see the fuselage being formed. When we walked through, I noticed one line of R22s, and two lines of R44s. I'm having a hard time remembering, but one line might have been Raven I helicopters, and the other line Raven II helicopters (which is similar but has a fuel injected engine instead of a carburated one. The helicopters in this picture are R44s.
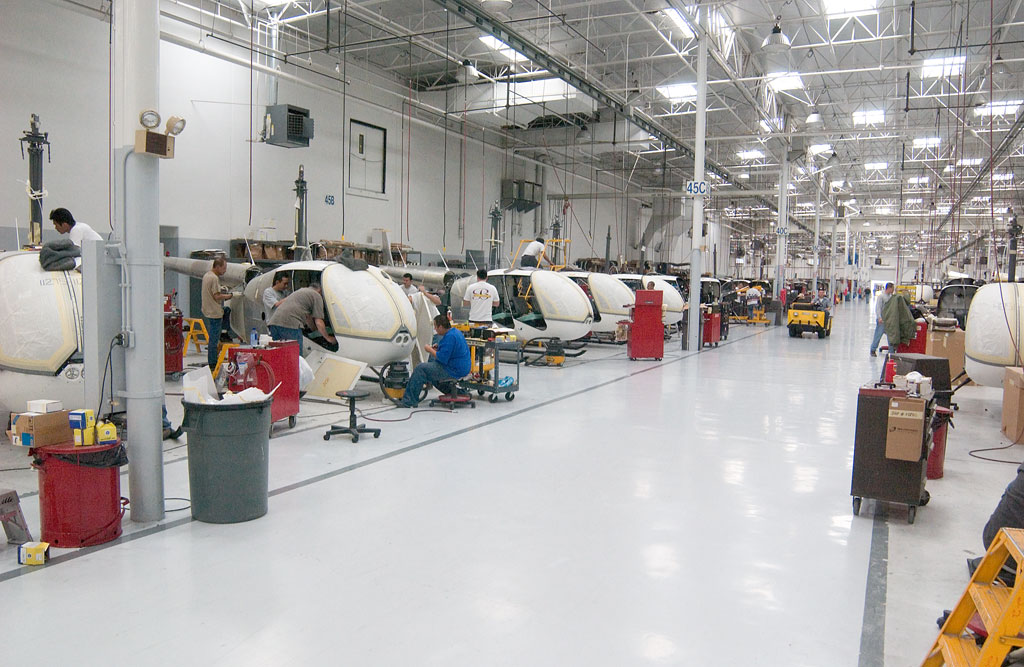
This picture is taken from almost the same spot, but you can just see an R22 fuselage in the far right of the picture, and the same R44s being assembled on the left side.

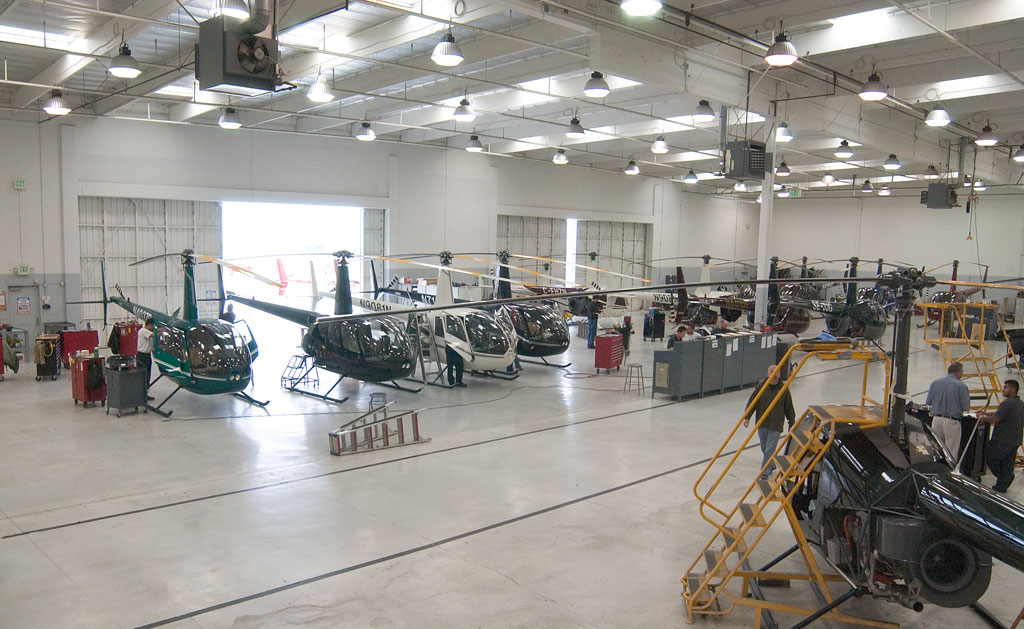
Our tour guide explained to us that every once in a while the helicopters are moved down the assembly line. When they are still relatively light, the workers just pick them up and move them. Later on they use the regular helicopter moving device that we all use at our home airports - it picks up the belly of the aircraft, and the helicopter rolls on it's regular ground handling wheels.
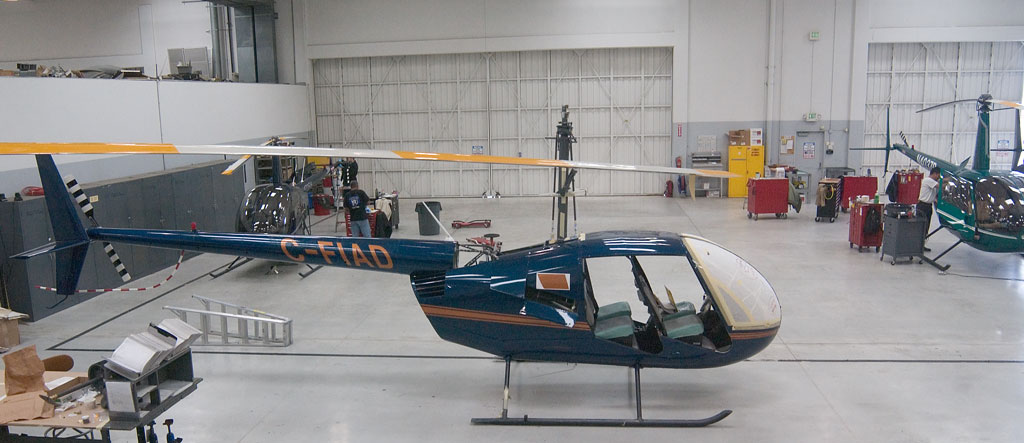
The picture above was taking in the painting area. You can see that this helicopter has already been painted and is being touched up and prepared by hand. I asked about the paint operation versus air pollution - I remember reading a few years back that McDonnell Douglas had to fly aircraft from their Long Beach factory to Arizona to be painted with certain kinds of paint. Robinson experimented with a different kind of paint a number of years ago, but didn't get the results they liked, so they went back to the original paint and instead installed a special incinerator to burn off the paint particles. Our tour guide claimed the air coming out of the incinerator is cleaner than the air outside.
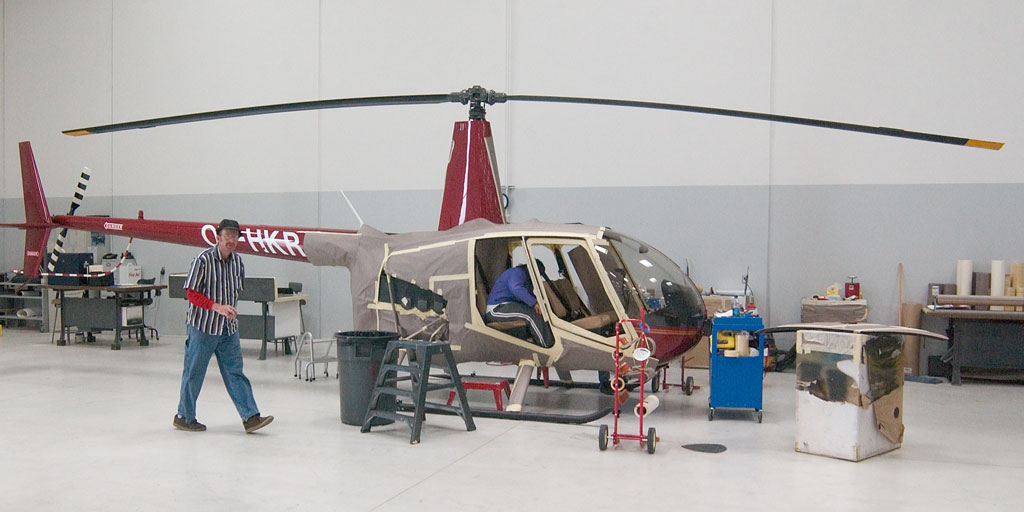
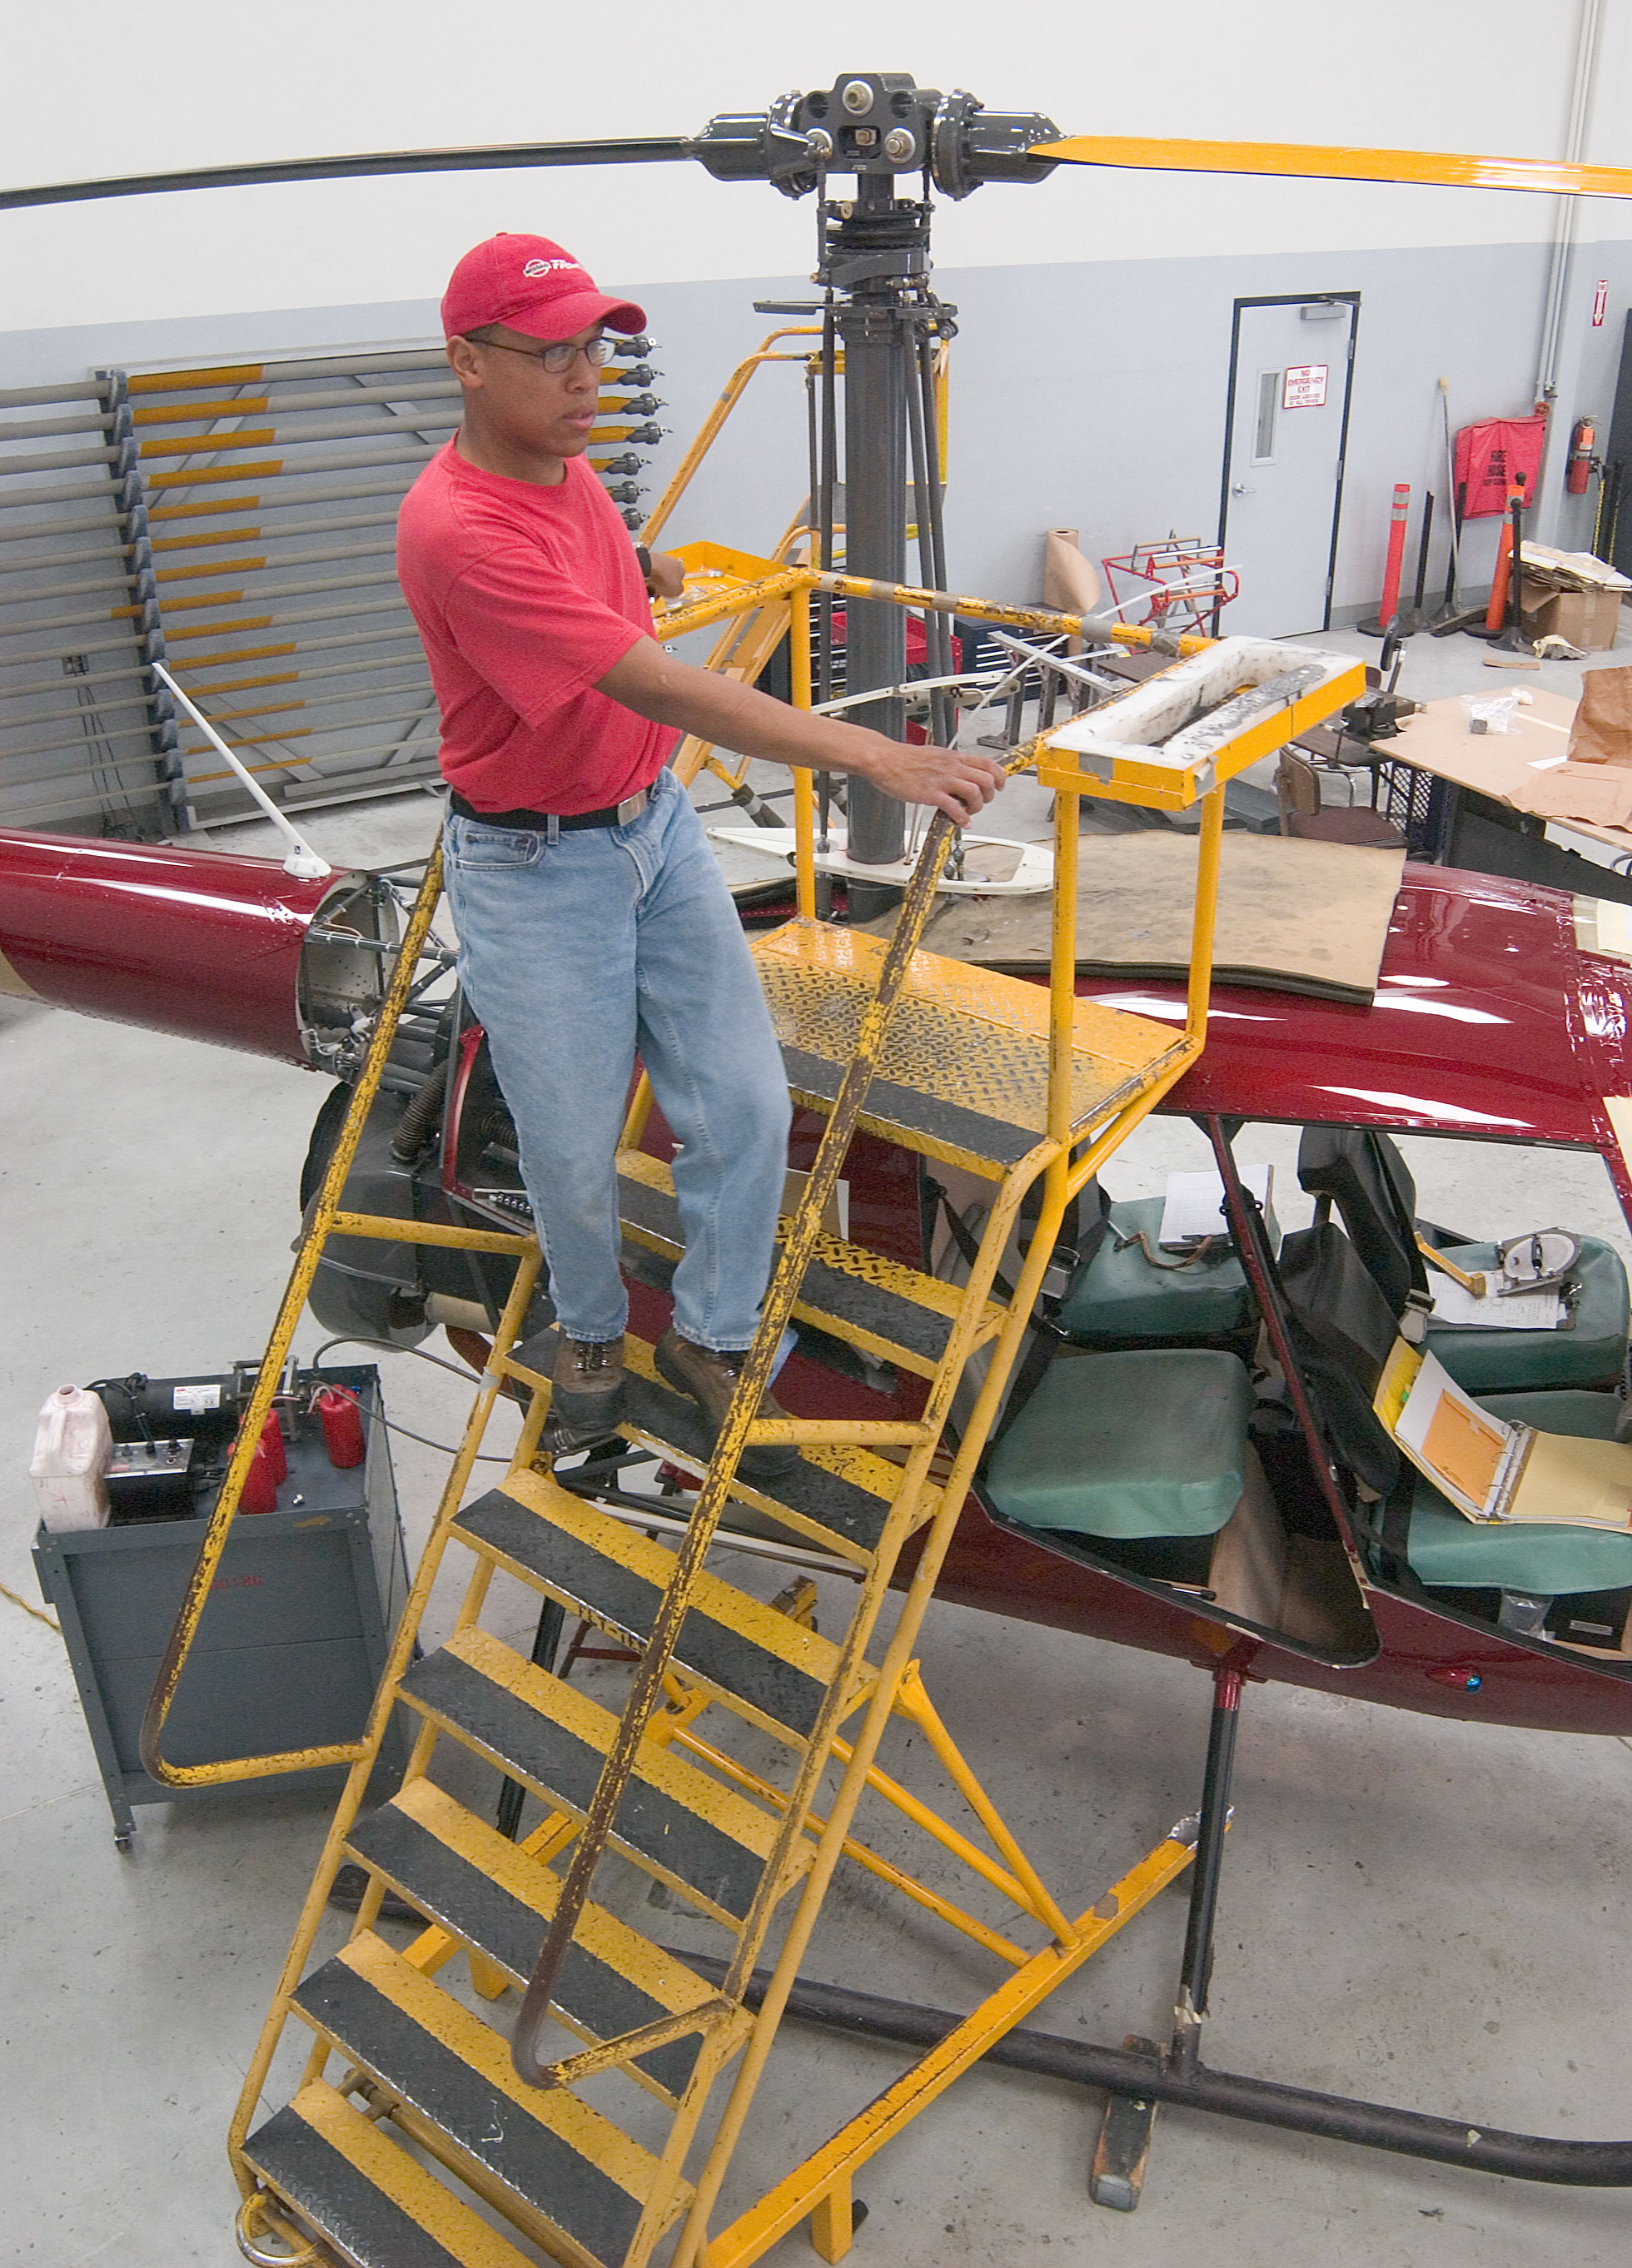
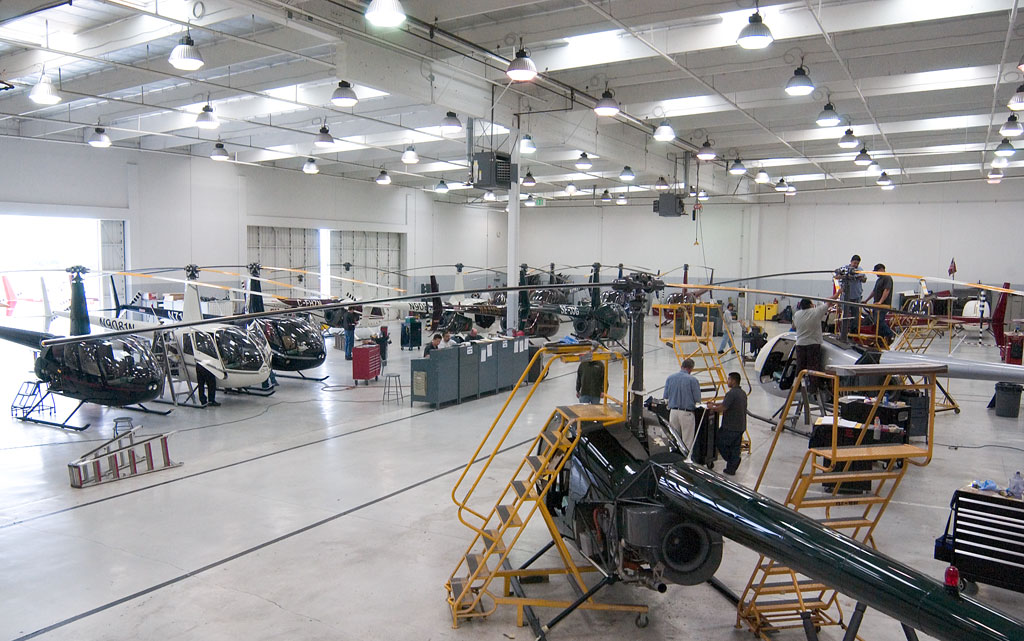
The final stop before test flight is in the rigging section. In this area, riggers attach main rotor blades and tail rotor blades. They statically balance them. Any other final adjustments are being done in this particular room which is a pretty large room, but tiny compared to the overal size of the factory.
If you look behind the tailboom that happened to be in the way of this picture, you can see racks of blades ready to be installed on helicopters. Blades are sorted and matched so that the two blades that get attached to a particular helicopter are as identical as possible. This makes it possible to get the best track and balance.
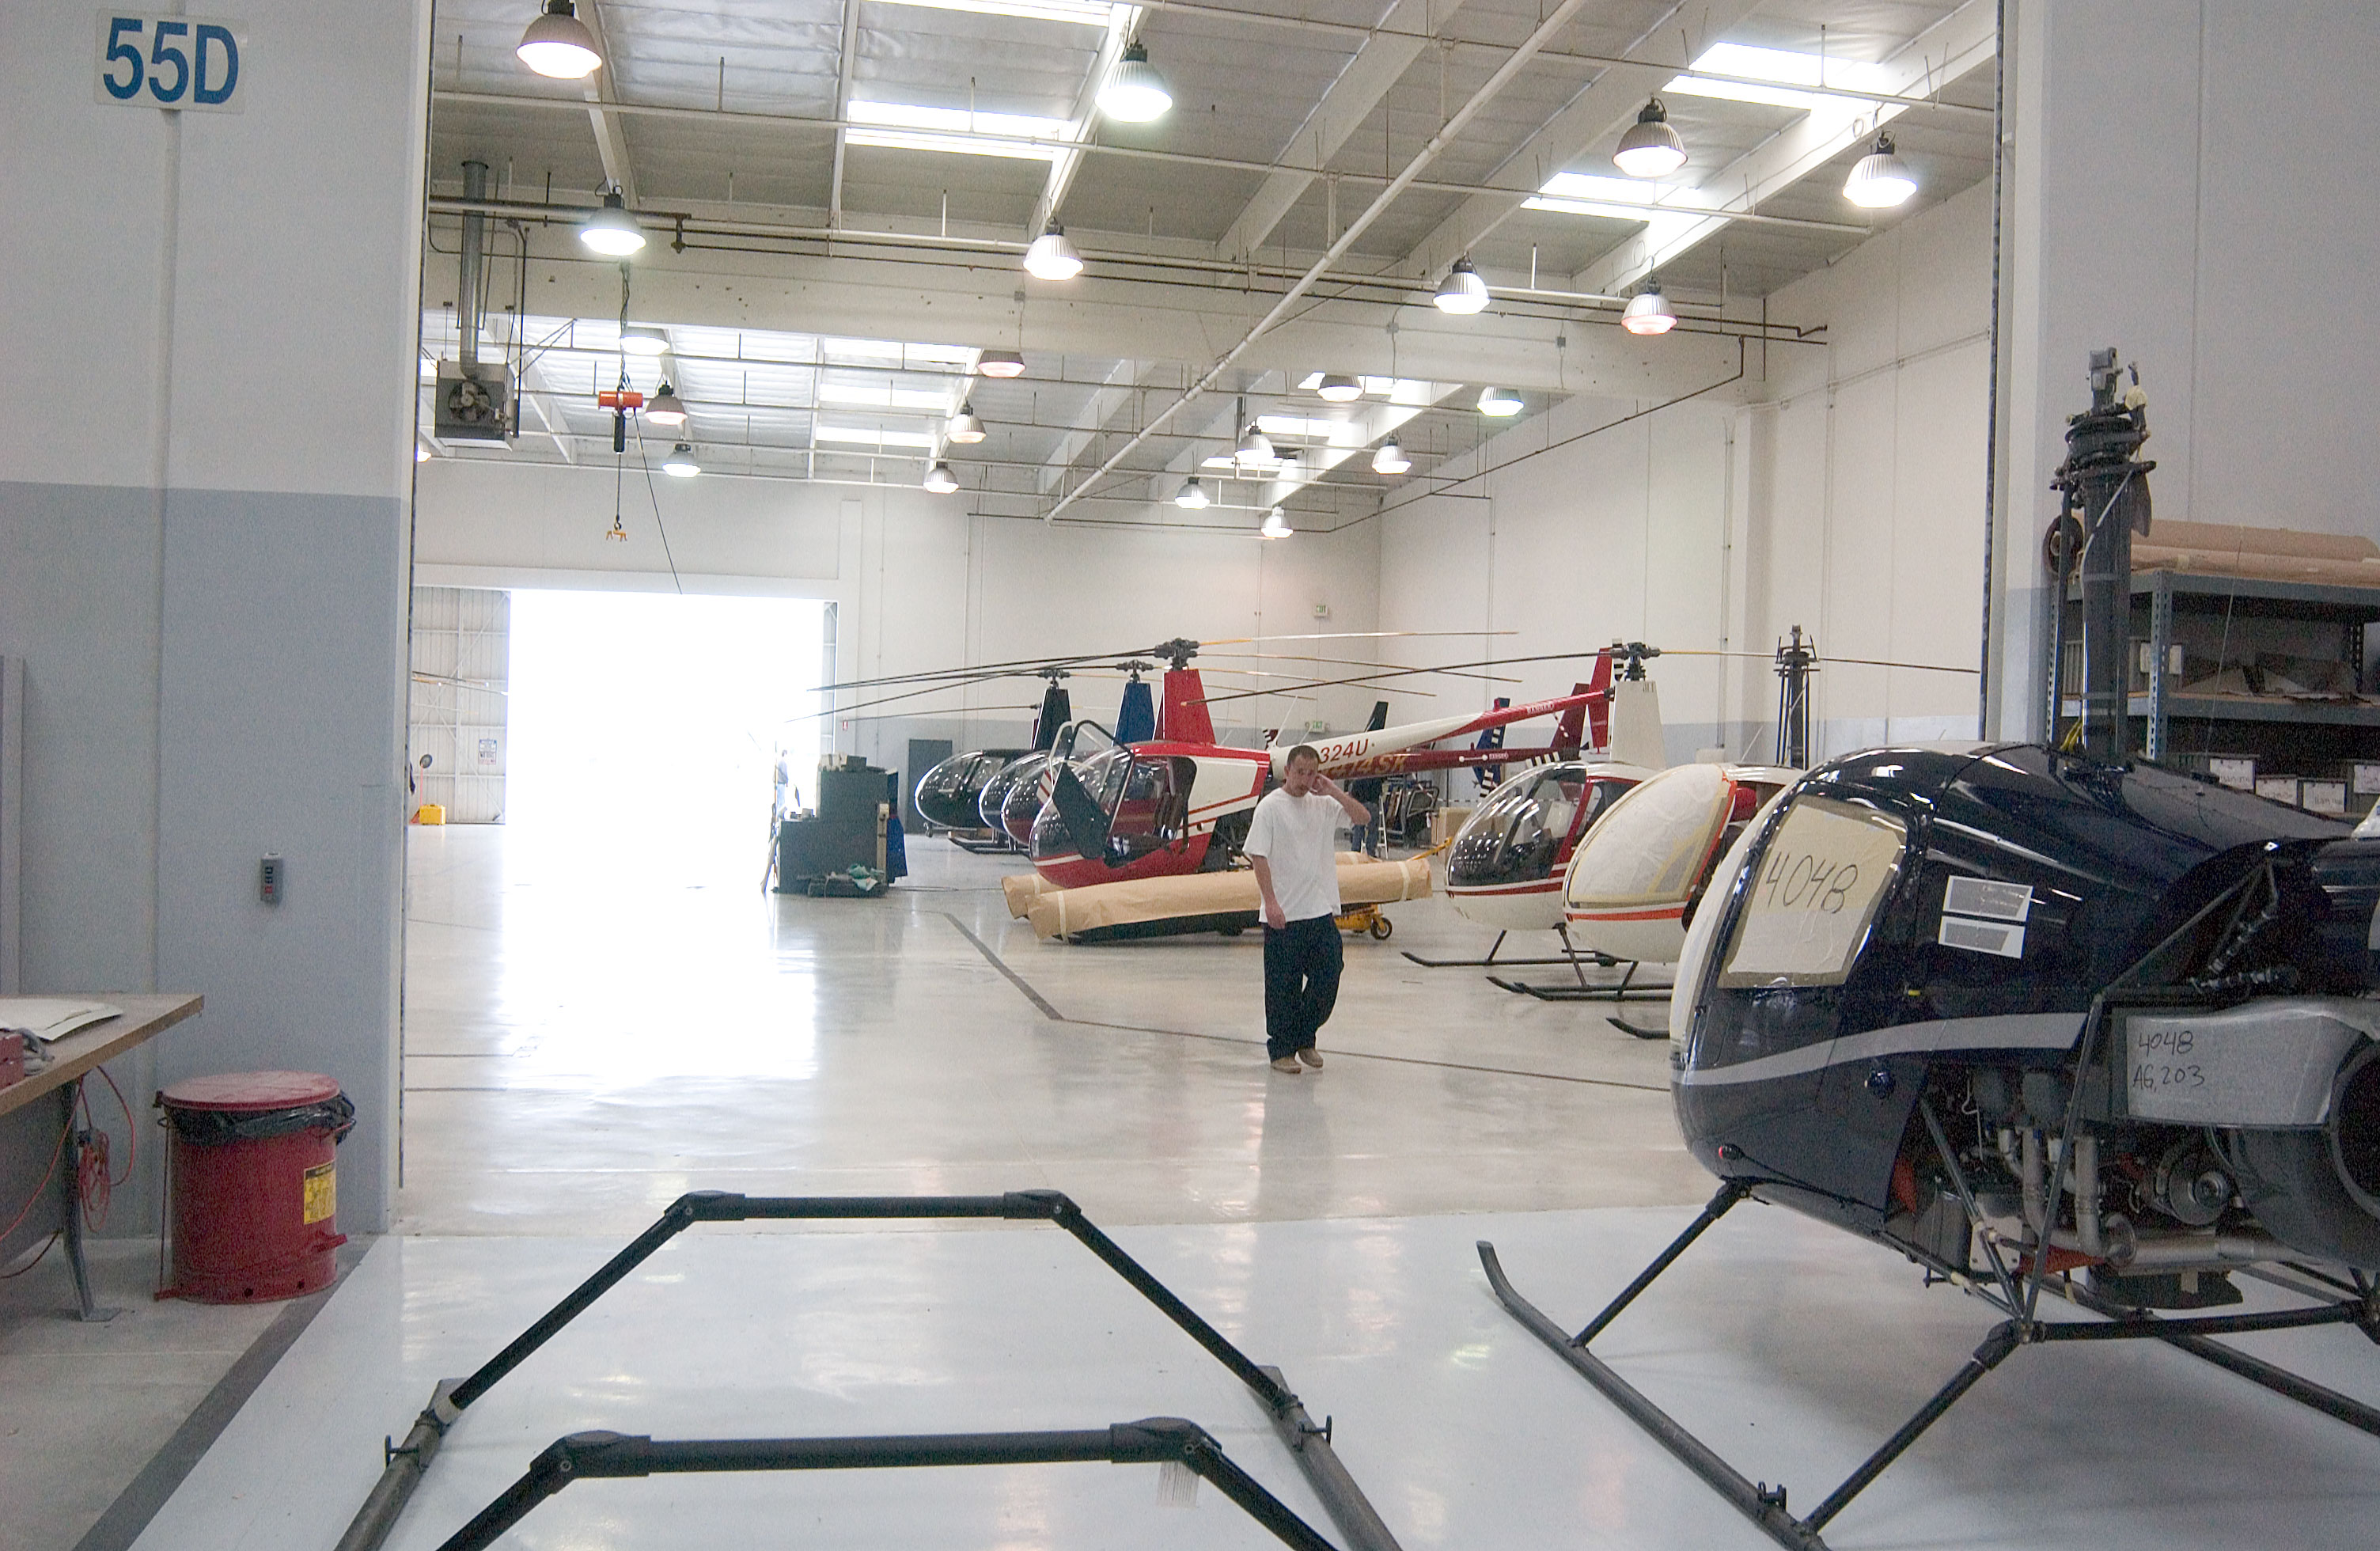
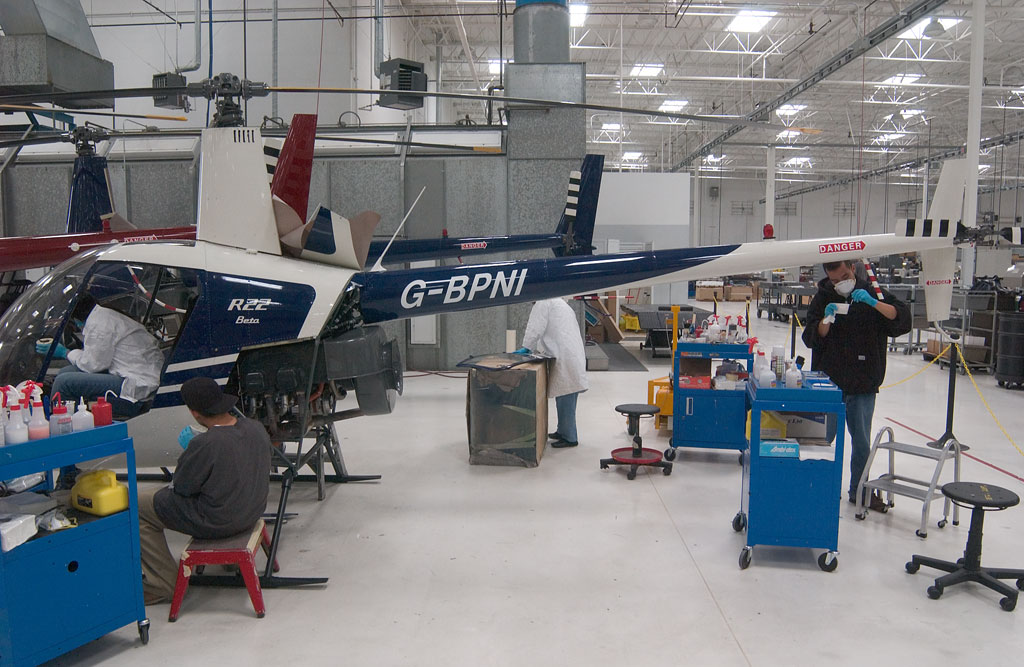
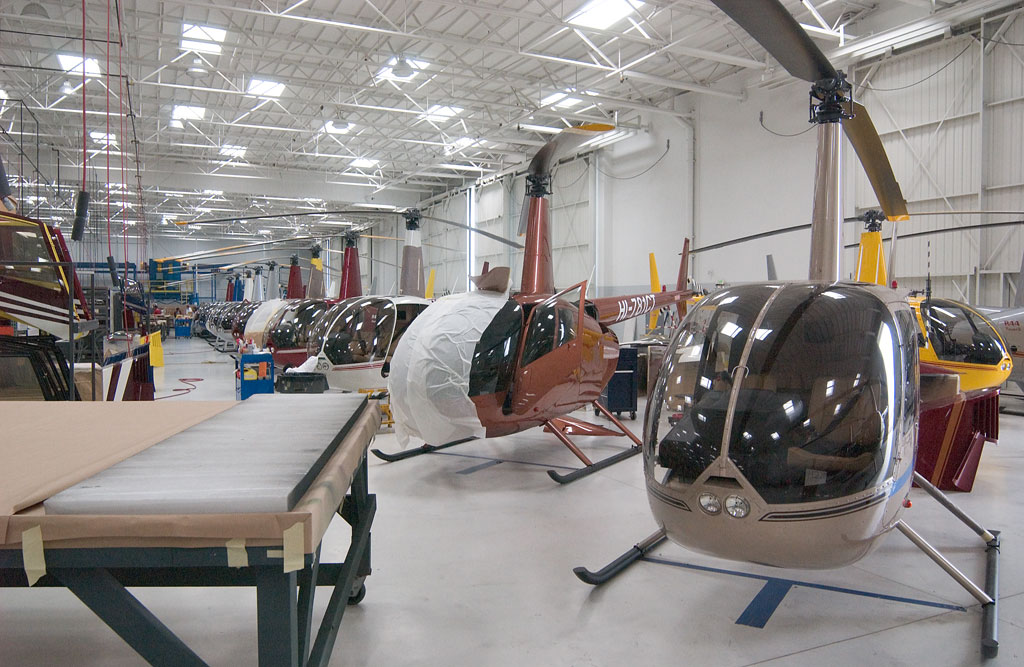
In the foreground of the picture, you can see a landing gear waiting for a fuselage. The red helicopter behind the guy in the white shirt is an R44 Clipper - it has fixed floats allowing it to land in the water. Robinson also makes emergency pop-out floats, where the floats are packed very tightly on the skid, but can be inflated by a bottle of helium if the pilot pulls the emergency inflation lever. This lets you have the safety of floatation, without the performance degradation of a pair of fixed floats.

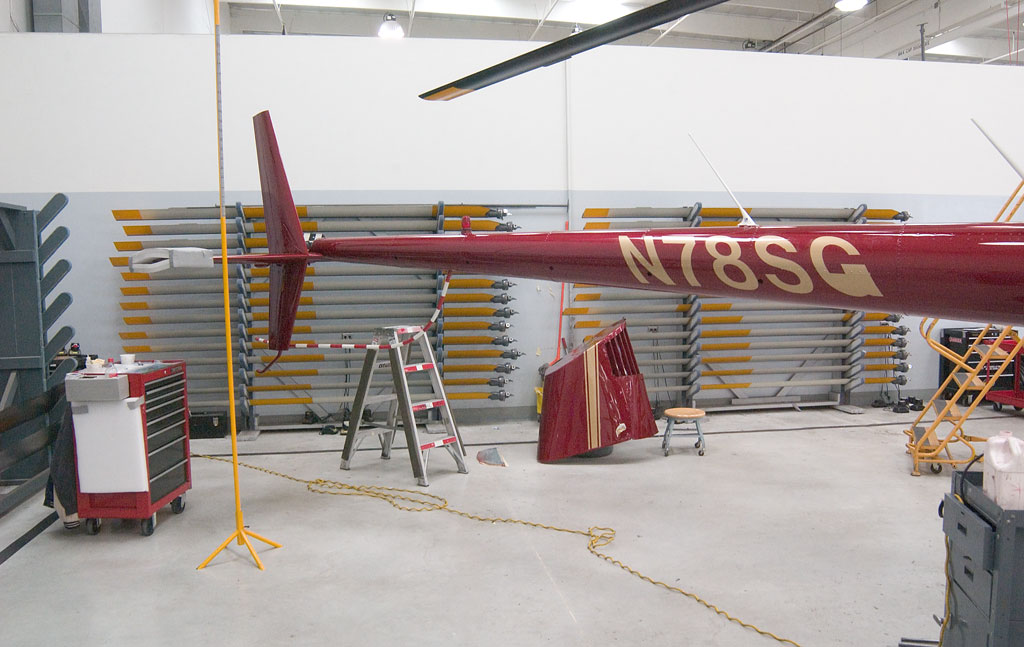
You can see how the R44 tailcone attaches in this picture. If you look at the front of the visibile tailcone, you can see some of the steel frame exposed. Fairings cover that area when the aircraft is fully assembled.

Part Four -- Flying the Helicopters