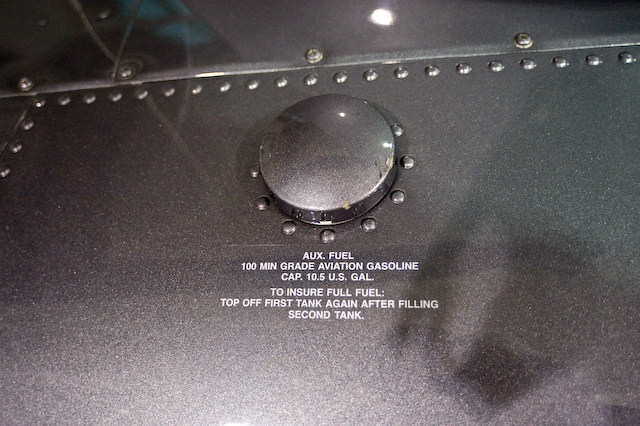
The best way to determine the fuel quantity is to use a fuel stick. I'm not aware of anyone making them, but you can make your own easily enough. Because the two fuel tanks are interconnected, you don't make a stick for each tank, instead you calibrate the stick for the left (main) tank and this takes into account the fuel in the aux tank. When calibrating the stick, you need to allow enough time for the fuel to equalize in the two tanks before marking the stick. Be careful when sticking the tank not to damage the fuel system or gage senders.
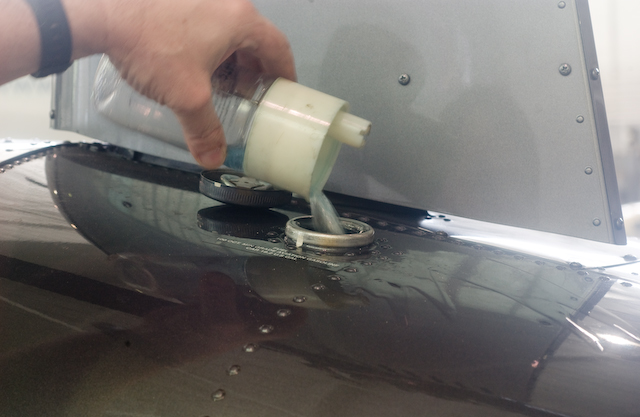
Make sure the white lines on the fuel cap and tank match up to let you know you've fully tightened the cap.
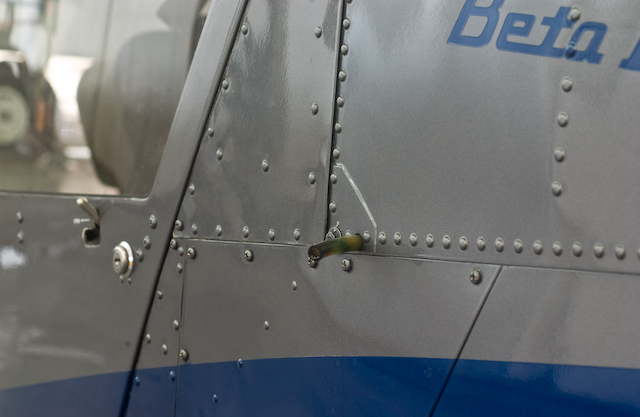
Check the drain, the bottom of the tank, and the fuel fittings to make sure there are no leaks.
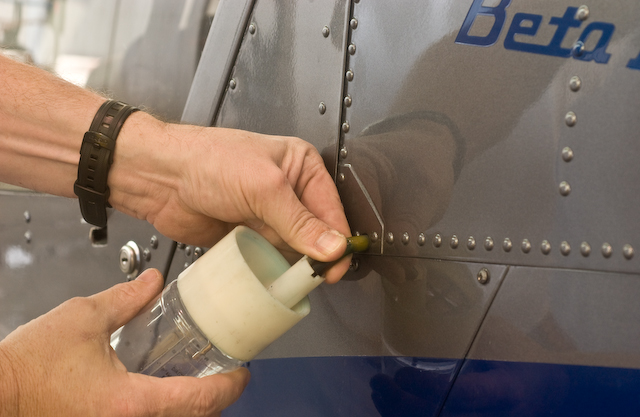
Take a sufficient sample of fuel to determine that the correct octane fuel was used, and that there is no water or other contaminants in the fuel. We use the kind of sampler which lets you pour the fuel back into the tank. I used to not like that idea, but I've found I do better samples because I know I won't be wasting all the fuel I sample. Also, it's probably better for the environment than throwing fuel onto the ground.
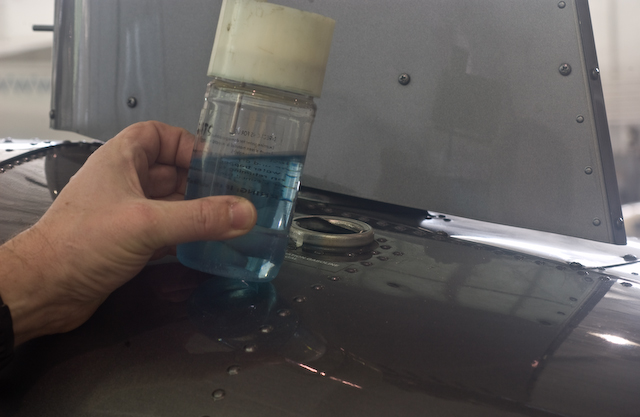
Check that the proper fuel color is present. Blue indicates 100LL, which is about all we use in the U.S.A. Don't hold the cup up to the blue sky to judge whether it is blue or not! Some people recommend giving the sample a sniff to make sure it smells like fuel. Look for water or other contaminants.